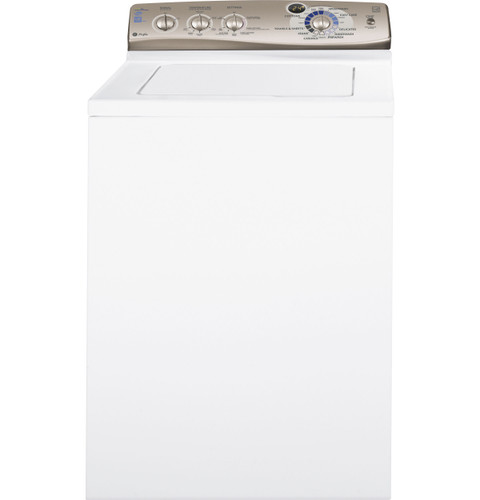
GE Profile PTWN6250M / PTWN6250MWT HydroWave Infusor washer
Storing or moving the PTWN6250M washer
A long idle period or move calls for water shutoff, drainage planning, and protection of the tub during transport.
Prepare it for an extended absence
For a long vacation, GE’s owner manual instructs owners to turn off the water faucets. This removes constant pressure from the fill hoses while the washer sits unused. If the washer will be exposed to freezing conditions, the manual says to drain water from the hoses; it also warns not to store the washer where it is exposed to weather. A heated indoor location is the straightforward choice when winter temperatures could freeze residual water.
Before leaving, ensure the washer is not mid-cycle, unplug it if the appliance will remain unused for an extended period, and leave the lid open after a completed wash so moisture can evaporate. The lid-open instruction is a care measure, not a reason to leave the machine accessible to children. Keep the drain hose in its installed position and do not cap or seal the basket.
Drain and protect it before a move
Water can remain in the drain pump and hoses. GE’s manual says to ask a service technician to remove water from the drain pump and hoses for moving or storage. The PTWN6250M installation sheet also calls for a shipping rod to hold the tub stationary during transport. Retain the original shipping rod if available; before moving the washer, install it according to the installation instructions rather than improvising a restraint.
Disconnect power and shut off both faucets before disconnecting hoses. Use towels and a pan for trapped water. Secure hoses and the power cord so they cannot drag or be crushed. Keep the appliance upright and protect the cabinet, lid, and control panel. A move without the tub restraint can expose the suspension to movement the shipping instructions were designed to prevent.
Reinstall using the original installation limits
At the new location, check that the floor is firm and level; the installation guide says firm flooring minimizes vibration and does not permit installation on rugs or outdoors. Reconnect hot and cold hoses to the correct valves, then inspect for leaks. The guide specifies pressure and drain-height limits; for a standpipe, it requires a minimum 30-inch height and maximum 8 feet above the washer base, with an open standpipe of at least 1.5-inch inside diameter. Confirm the exact setup against the manual before use.
The specification sheet gives nominal dimensions of 42 inches high, 27 inches wide, and 25.5 inches deep. Treat those as planning dimensions, not a guarantee of door, hose, or service clearance. Check the packed installation document and actual path through doorways before transport. The required receptacle is a grounded three-prong outlet on an individual 15- or 20-amp circuit; do not rely on an extension cord.
Restart with a short inspection
After storage, open the faucets slowly and watch both hose connections. Run a short fill and drain while checking for leaks and confirming that the drain hose stays secured. If the machine was stored below freezing, let it thaw fully indoors and inspect hoses before applying water pressure. A cracked hose or leaking connection should be repaired before a wash load is run.
Leave the washer level and stable; the installation sheet emphasizes firm flooring to reduce spin vibration. Redistribute a test load if the washer becomes unbalanced, as the owner manual recommends, rather than using a heavy load to “settle” the machine. If a leak, unusual noise, or drain issue continues after correct reconnection, stop and seek service.