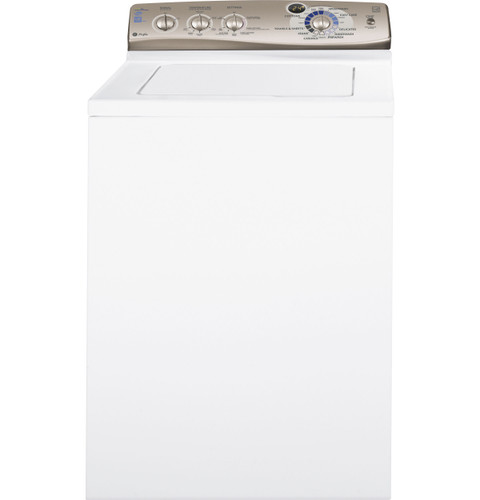
GE Profile PTWN6250M / PTWN6250MWT HydroWave Infusor washer
Measure the PTWN6250M washer and its installation space
The GE Profile quick specification sheet lists 27 inches wide, 42 inches high and 25 1/2 inches deep. Measure the delivery route and final location, not only the laundry alcove. The installation guide requires working room at the right side during setup to remove and retain the shipping bar.
The install sheet gives closet/alcove clearances only if the washer’s rear label approves that installation. Those minimums are zero at sides, two inches front, three inches rear and 52 inches overhead. Check the actual back label before relying on them.
- Measure route/final location against 27 x 42 x 25.5 inch listed dimensions.
- Check rear approval label before applying closet clearances.
- Reserve 24 inches at right for shipping-bar removal and service access.
Plan the route and opening
Measure doorways, turns, stairs and final opening against the listed 27-by-42-by-25 1/2-inch dimensions. Include hands and packaging during delivery. Check that the lid can open without hitting shelving or a countertop and that faucets, drain and grounded outlet remain reachable once the washer is in place.
The sheet says to consult the installation instructions packed with the product for current dimensional data. Use the unit’s actual installation label and instructions where they differ from planning measurements. Do not tilt or force the washer through a tight route with hoses or cord attached.
Apply closet clearances conditionally
For a washer approved for alcove or closet placement, the installation sheet lists minimum clearances of zero inches at sides, two inches front, three inches rear, and 52 inches from floor to overhead shelves/cabinets/ceiling. It also specifies ventilated closet doors with at least 60 square inches of open area for a washer alone.
The instructions say approval is identified by a label on the back. Do not assume the clearances authorize any enclosed closet. Leave practical access beyond the stated minimums for installation and servicing, especially to reach the valves, cord and drain.
Allow shipping-bar and outlet access
During setup, the installation sheet calls for at least 24 inches of clearance at the washer’s right side to pull its yellow-handled shipping bar. Plan this temporary access before placing the washer. Save the bar because the guide says it can be reinstalled if the appliance is moved.
The spec sheet says the wall outlet should be within 36 inches of service-cord entry and not behind the dryer. Keep the receptacle reachable and avoid trapping the cord. Do not push the washer tightly enough to crush hoses or the drain line.
Check floor and leveling space
The installation guide calls for a firm floor to minimize spin vibration and says not to place the washer on a rug or expose it to weather. Concrete is preferred; wood must provide adequate support. Choose a stable, level location rather than compensating for a soft or sloped floor with the washer feet.
The instructions level the front legs and settle the rear leveling mechanism during setup. If the machine rocks or walks, do not place loose pads underneath. Recheck leveling and floor stability using the guide; ask an installer to assess a flexing floor.
Those minimums apply only if the washer is approved and labeled for closet/alcove installation.
Check the rear label and preserve service access.
The spec sheet places it within 36 inches of cord entry and not behind the dryer.
Have a qualified electrician correct an unsuitable receptacle before installation.
Floor firmness or foot adjustment may be inadequate.
Level on a firm floor and have floor support assessed if it flexes.
Common questions
Can I use the closet clearances in any closet?
Only if the washer carries the required closet/alcove approval label; the install sheet gives those limits conditionally.
How much room is needed for shipping-bar removal?
The installation steps call for 24 inches at the washer’s right side.